Nowadays, it is very common to have pieces of code developed in different languages and technologies, and today, more than ever in Javascript.
If you have a tested and battle proven javascript module, maybe you don’t want to rewrite it from scratch in C# to use it in asp.net, and you prefer to invoke it and fetch the results.
This post will show how to use Microsoft Asp Net Core Node Services in asp.net to execute our javascript commonjs modules.
In the following example, we will consume an online free json post service, that returns lorem ipsum posts information based on the request page id. To Achieve this we have a really simple nodejs module that will fetch the contents from the api using the library axios.
We are going to fetch this information through the Post Api Controller and return them in Json to the client.
Lets get started:
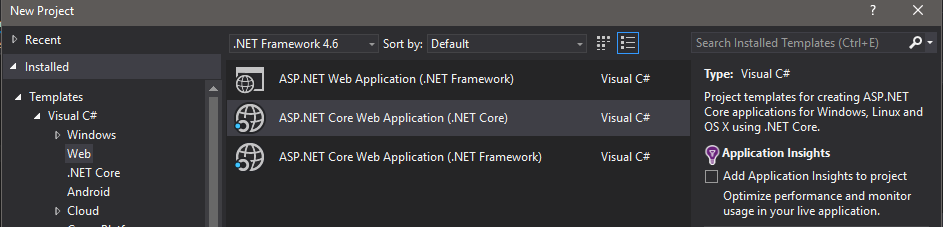
First of all we create a new asp.net core project:
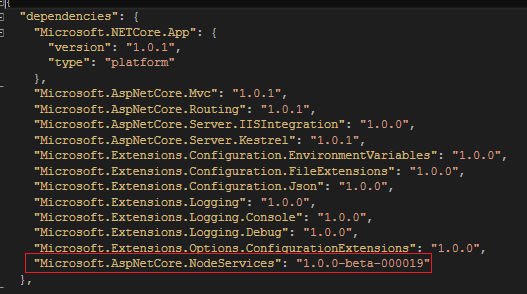
Then we add the Reference to Microsoft.AspNetCore.NodeServices in project.json file:
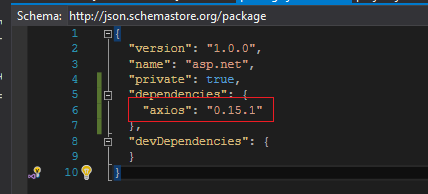
To finish the setup, we have to create a npm configuration file and add the axios reference that will be used by our node script:
To add the npm configuration file use Add > new Item > client-side > npm configuration file and then add the axios dependency as the following image:
With this the setup is complete, let’s jump to the api configuration, we want to add Node Services and fast configure the JsonSerializer indentation settings on our Startup.cs class in ConfigureServices method:
|
|
public void ConfigureServices(IServiceCollection services) { services.AddNodeServices(); services.AddMvc(). AddJsonOptions(options => { options.SerializerSettings.Formatting = Formatting.Indented; }); } |
Once our api is configured to use Node Services we are going to create the Post Controller, and inject the node services in the constructor. The framework will automatically provide it to us so no further configuration is needed. We want to serialize the output to be an ExpandoObject so we can dynamically access to the properties in case it is needed. Right now we just want to send the output to the client in Json format.
1 2 3 4 5 6 7 8 9 10 11 12 13 14 15 16 17 18 19 20 21 22 23 24 25 26 27 28 29 30 31 32 33 34 |
using System; using System.Dynamic; using System.Threading.Tasks; using Microsoft.AspNetCore.Mvc; using Microsoft.AspNetCore.NodeServices; namespace Api.Core.Controllers { [Route("api/[controller]")] public class PostController : Controller { private readonly INodeServices nodeServices; private const string NODE_POST_SCRIPT = "./Node/postClient"; public PostController(INodeServices nodeServices) { this.nodeServices = nodeServices; } [HttpGet, Route("{page}")] public async Task<ActionResult> Get(int page) { try { dynamic postResult = await nodeServices.InvokeAsync<ExpandoObject>(NODE_POST_SCRIPT, page); return Json(postResult); } catch (Exception ex) { return BadRequest(); } } } } |
The next step will be creating a folder called Node in our root folder and add the following nodejs script within a file named postClient.js.
This js module will just create a GET request to the api, requesting the post Id and invoking the callback based on the network request result:
|
|
var root = 'https://jsonplaceholder.typicode.com'; var axios = require('axios'); module.exports = function (callback, page) { var commentsUrl = root + '/posts/' + page.toString(); console.log("Calling Url :" + commentsUrl); axios.get(commentsUrl) .then(function (response) { callback(null, response.data); }).catch(function (err) { callback(err, null); }); }; |
NOTE: We should define a callback in the module parameters so Node Services can play the output results.
If we want the script to be successful we should pass a null error callback. On the other hand we will provide an error as the first callback parameter so the nodeService.InvokeAsync throws an Exception.
Final Steps, executing the controller action:
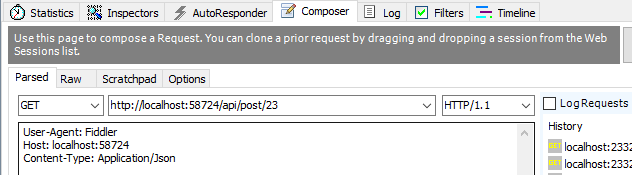
Everything is in place and we are going to use Fiddler to create requests to the post controller requesting different page ids:
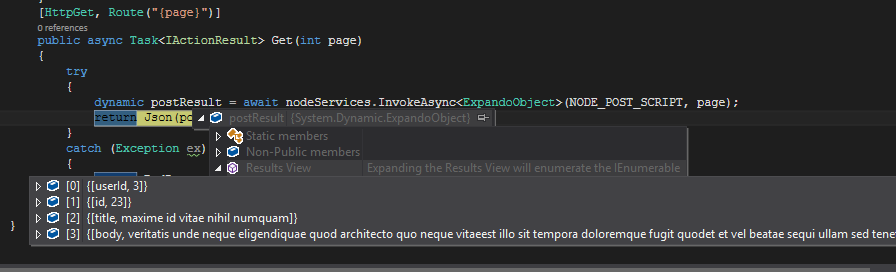
Once we execute the request we can see debugging the resulting output from the js script:
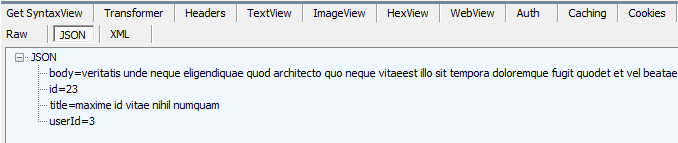
And then we get the output on fiddler as well:
And that’s all for today, I hope you enjoyed.
Happy Coding!.